After completing your avatar, you may find that even if the face is similar to yours, the avatar doesn't quite capture your unique look and image. However, there are ways to enhance your avatar and make it perfect.
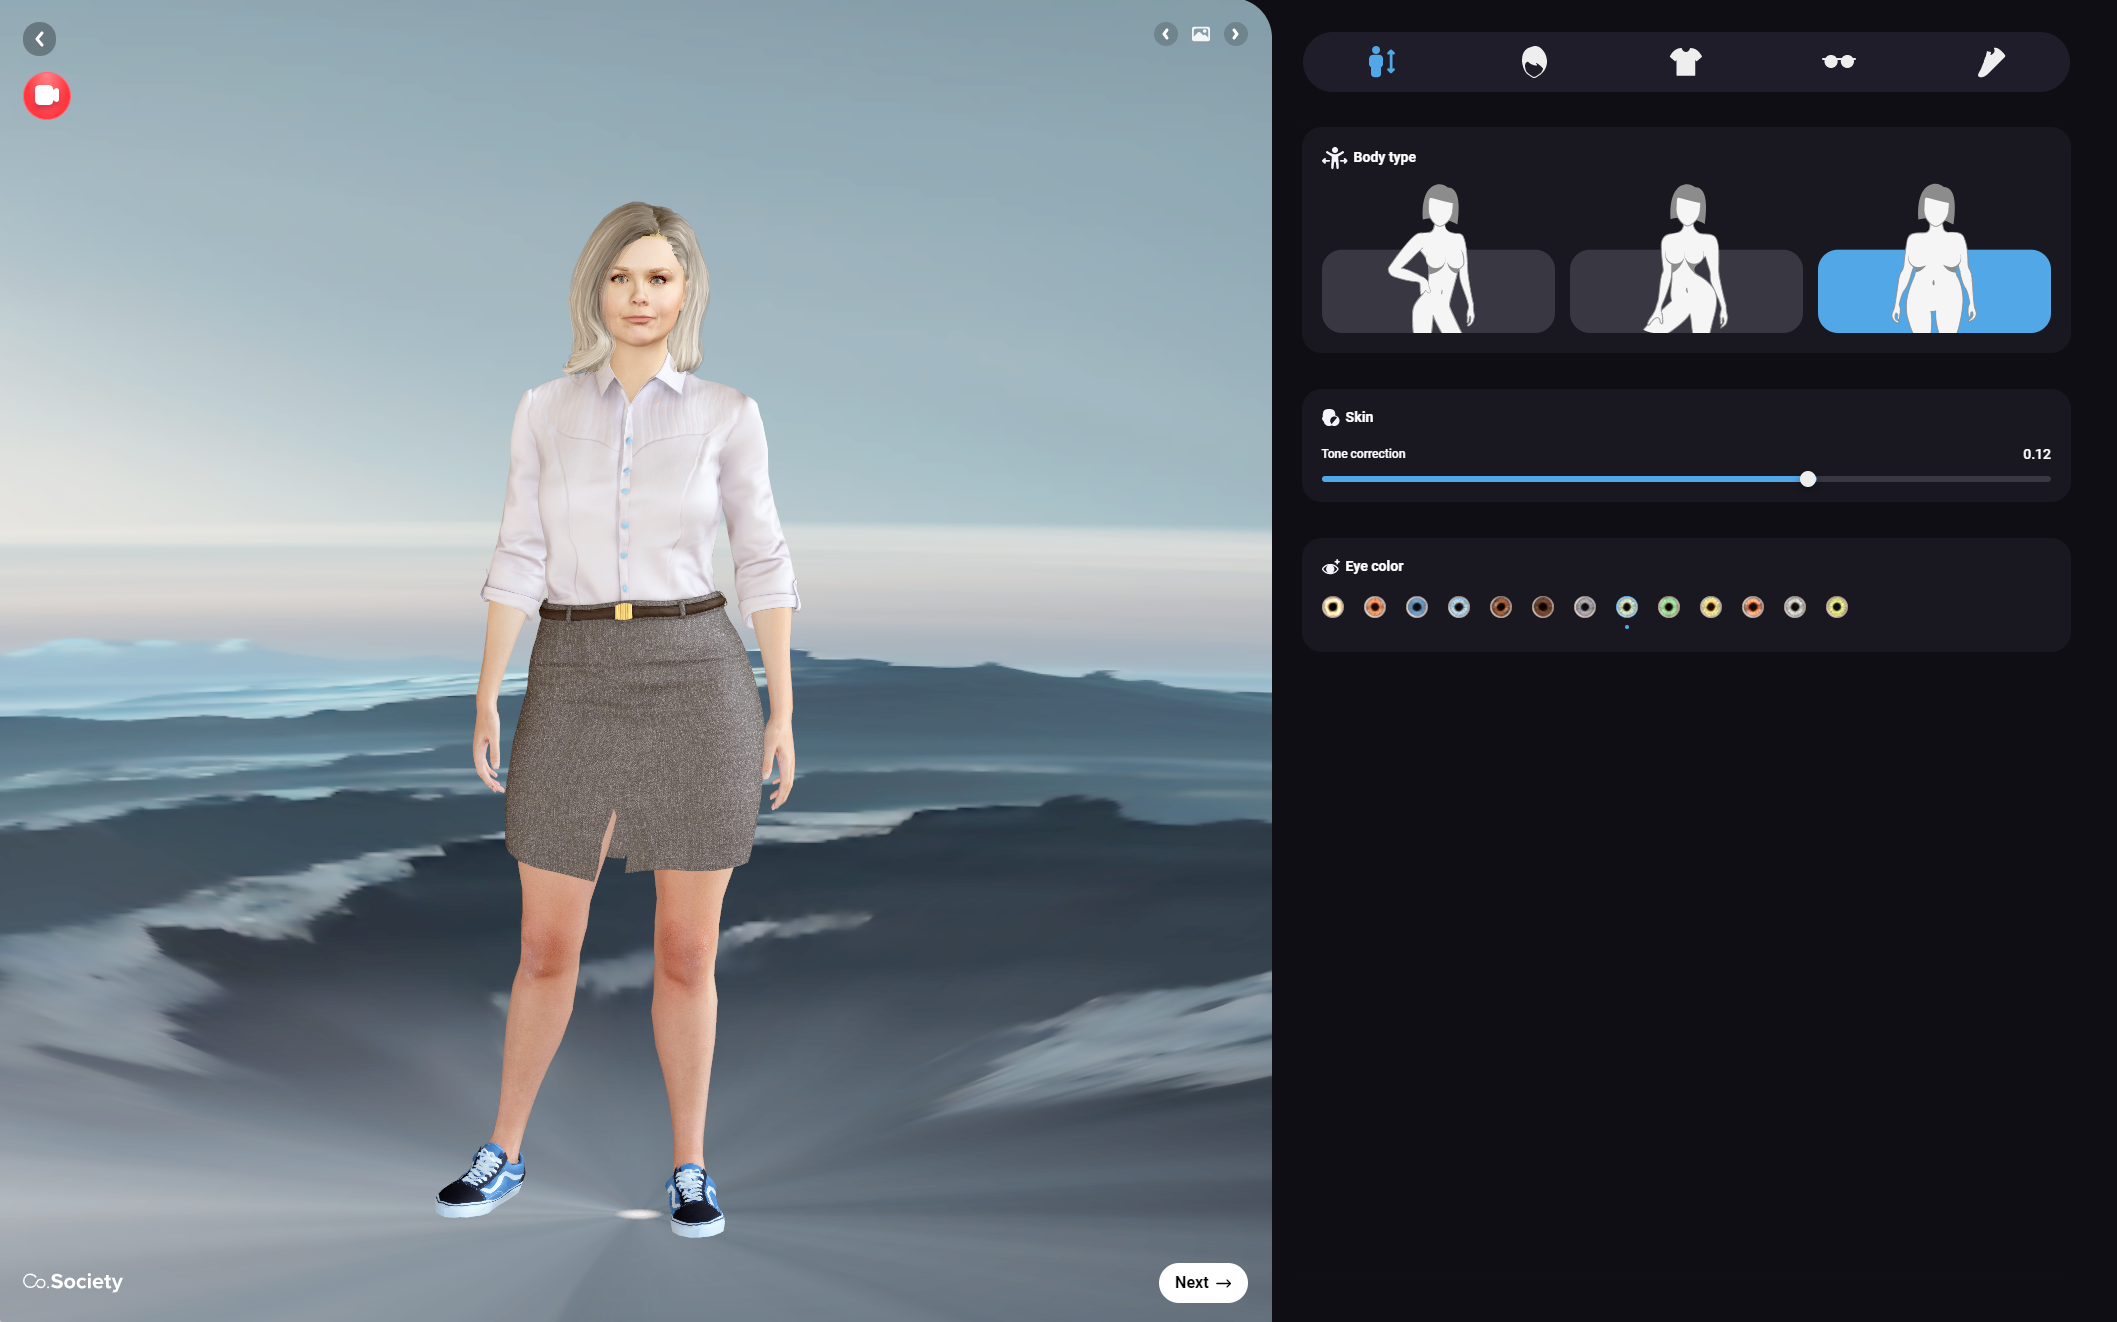
Once you have finished creating your avatar, you will be directed to a place where you can personalize it further. Here, you can choose between multiple alternatives to make it resemble you even more closely.
This process is designed to be intuitive and simple, allowing you to easily personalize your avatar. While you may find that you can figure out most of it on your own, we have provided this guide to assist you if you encounter any difficulties or uncertainties during the process.
Useful tools in the customization section:
- View your avatar from different angles:
Click and hold the left mouse button, then drag.
- Change your perspective of the avatar horizontally and vertically:
Click and hold the right mouse button, then drag.
- Zoom in and out:
Scroll forward and backwards.
How to personalize your avatar
-
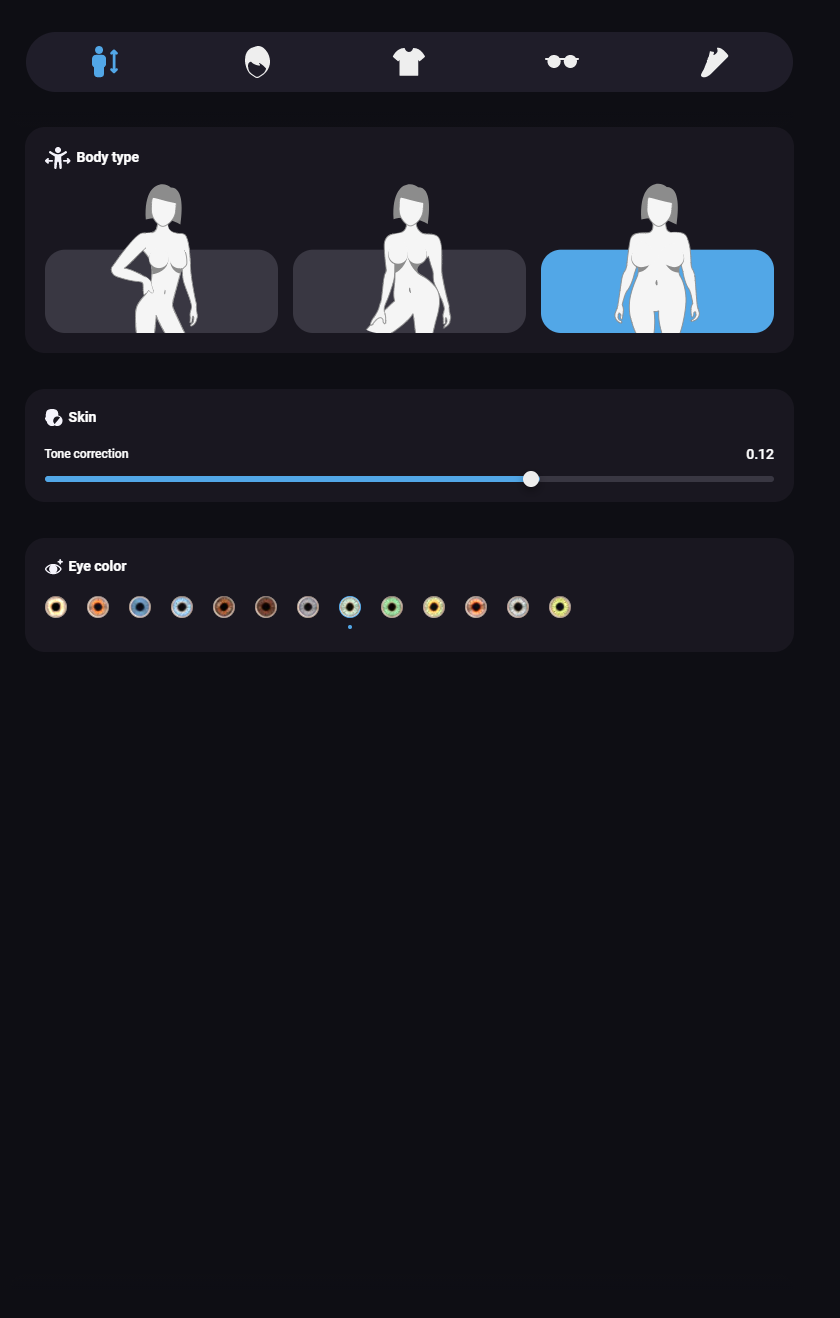 In the first tab, you will find three simple options to further personalize your avatar:
- Body type: Select from three different body figures to customize your avatar's physique.
-. Skin tone: Use the slider to adjust the skin color of your avatar, ensuring it closely resembles your own skin tone.
- Eye color: Explore a variety of eye color choices and pick the one that feels most fitting for your avatar.
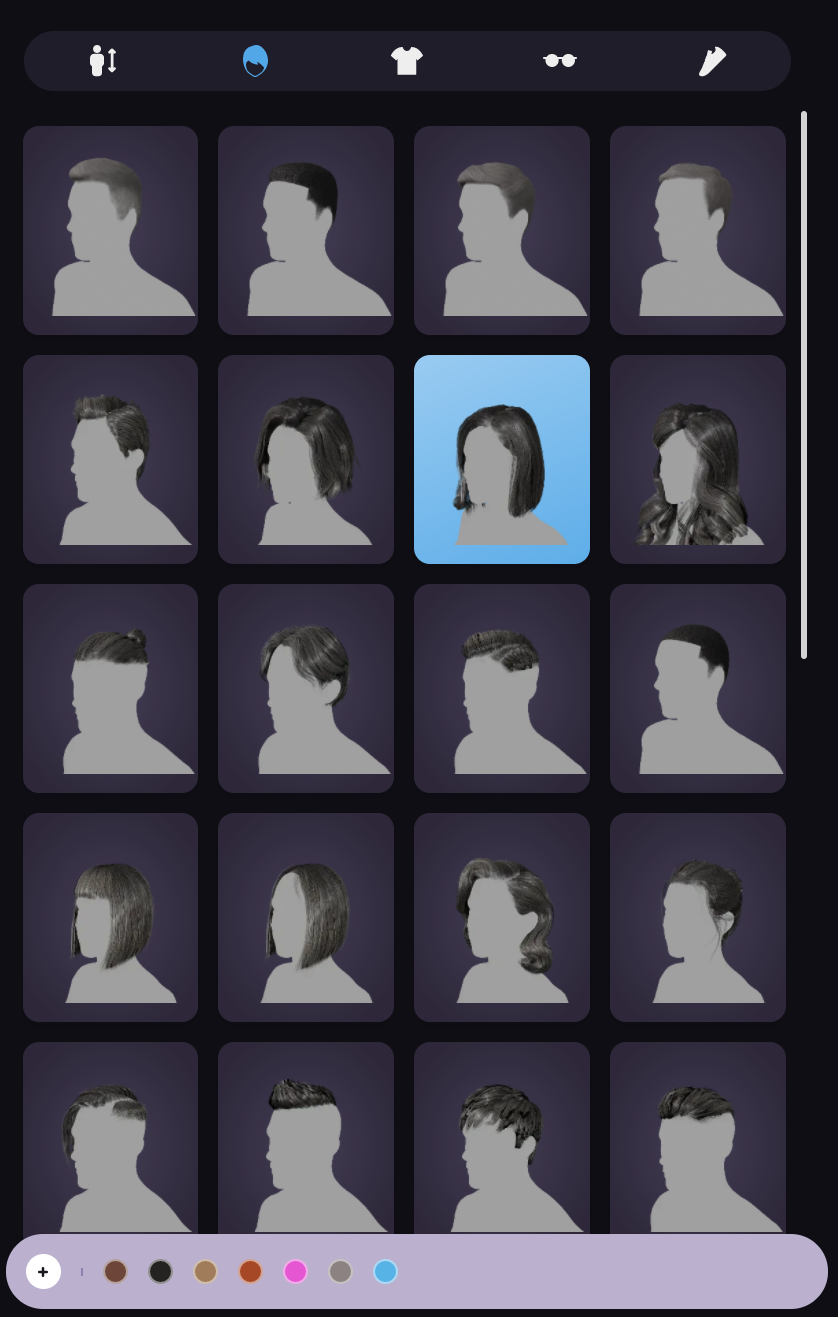
- In the second tab, you will find options to customize your avatar's hair. Choose from a wide range of different haircuts to find the perfect style for your avatar.
While there are preset hair colors available, you can easily create your own custom color if you don't see the one you want. Simply click on the "+" symbol in the bottom left corner of the modification window. This will open a standard color picker where you can create your own unique hair color. -
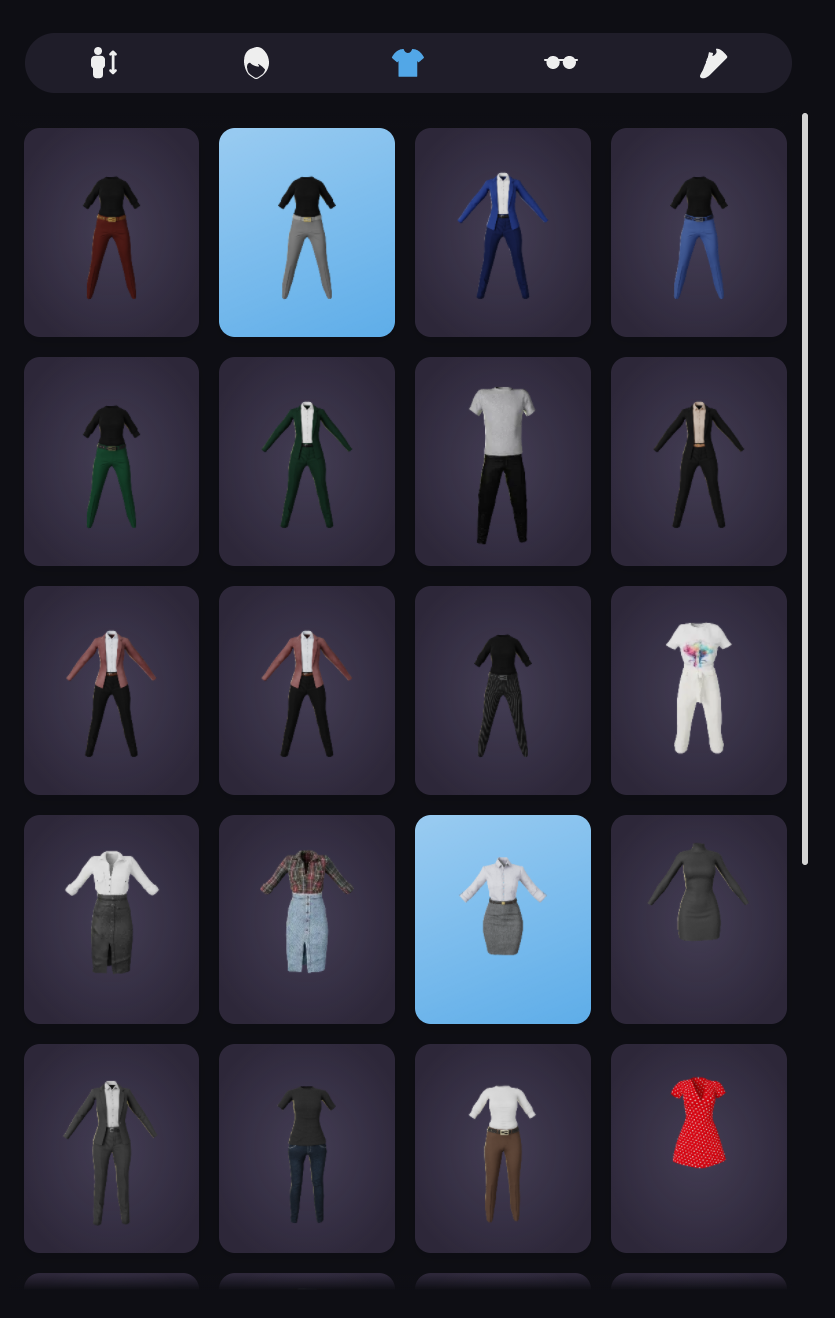 In the clothing section, you will find a variety of options to choose from. Whether you prefer gender-specific clothes or unisex styles, there is something for everyone. It's important to select clothing that makes you feel comfortable and confident.
It's worth noting that all clothing options are full body outfits, meaning you cannot separate the top and bottom pieces. However, new clothing options are constantly being added, giving you the opportunity to express your unique style.
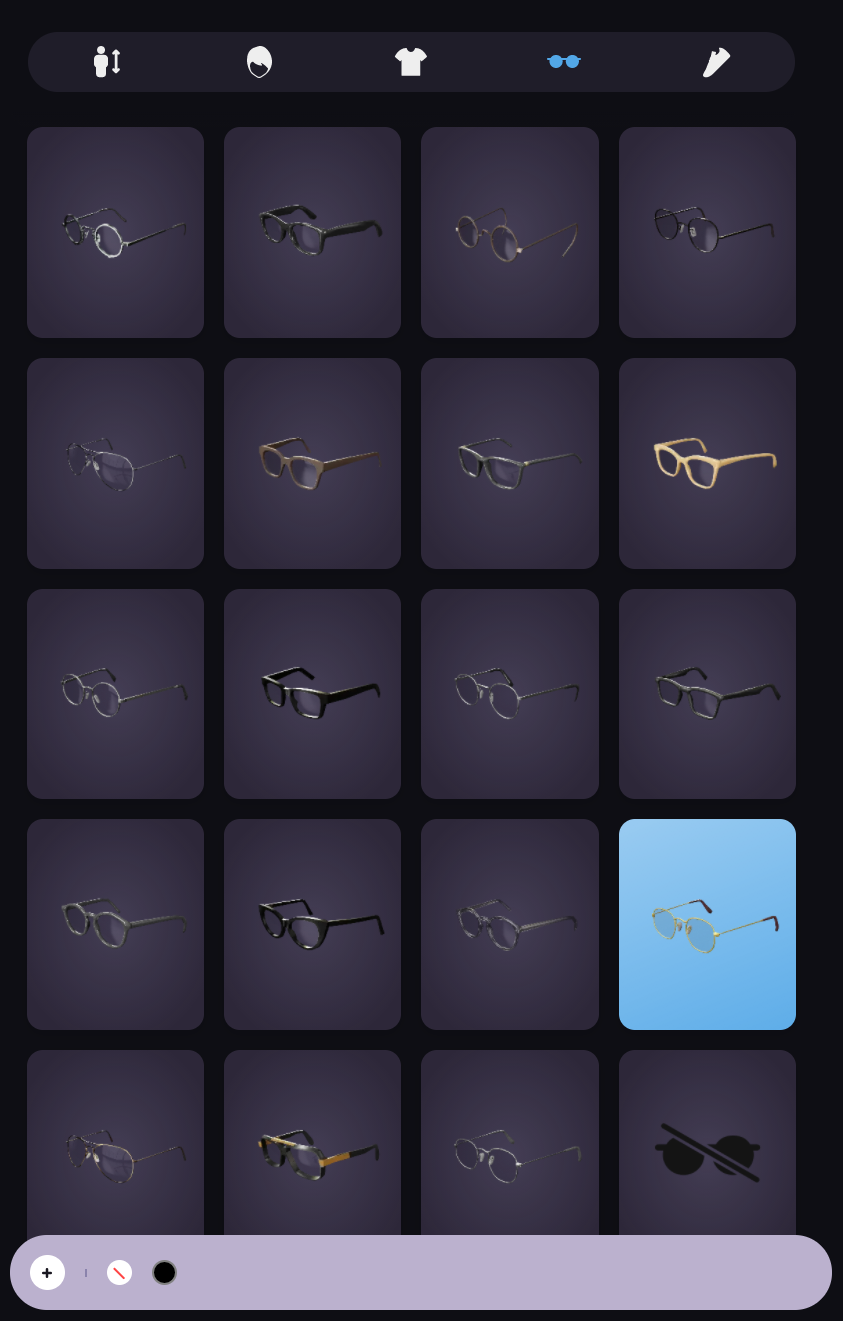
Glasses play a significant role in defining your avatar's identity, which is why we offer a wide selection of glasses for you to choose from. All of our glasses can be worn as regular eyeglasses or sunglasses
When selecting glasses, you have the freedom to choose the color of the lenses. In the bottom left corner, you will find a color palette. If you prefer regular glasses without any color on the lenses, you can choose the white circle with a red stroke. Additionally, if you want a unique color for the lenses, simply click on the "+" sign to access a color picker and create your own personalized lens color.
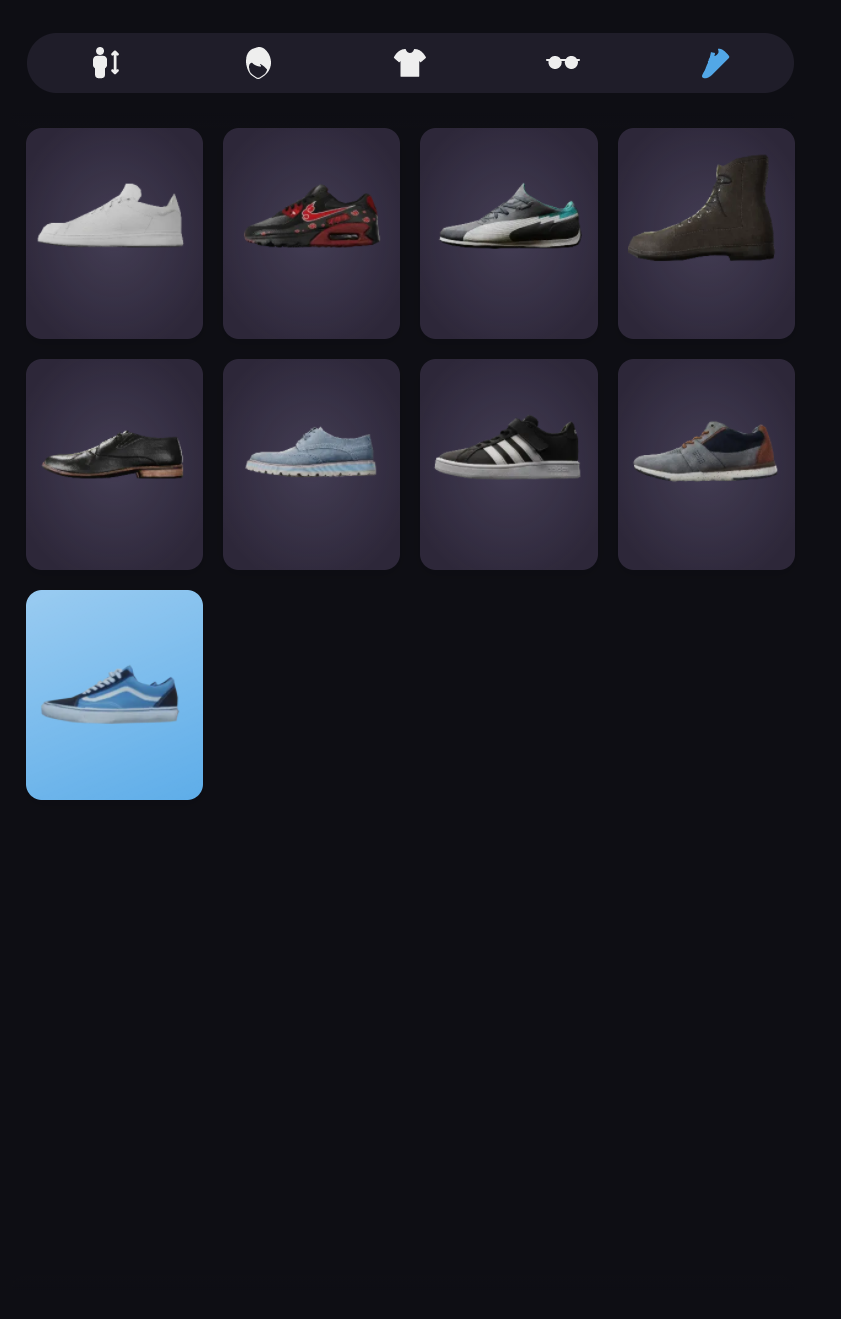 Last tab: Time for some shoes!
Before you enter the office, don't forget to choose a pair of comfortable and stylish shoes to wear while you navigate the virtual office and meeting rooms throughout the day.- If you are satisfied with your avatar, simply click on the "Next" button when you feel prepared to enter the office.
Remember, you can always return to the customization area later to make any necessary edits. Don't hesitate to leave the customization area for now, as you have the flexibility to make changes whenever you want to.